
|
How to put a theme on your player
|
Basic Themeing Instruction
| |
So you want a new look for your player, but are not quite sure what to do?
Follow these steps, and you should have no problems. The exampe is based
on a H320 theme, details will vary for your configuration.
Thanks to mixin from misticriver who provided the first detailed guide,
which I'm shamelessly copying here.
|
|
Before you start...
| |
...make sure the following items are ready
- H3Mod.exe in the latest version
- in the same folder: reference.bin, or the equivalent bin file for your firmware
- the .NET framework 1.1 installed on your machine (see the
Download page for details)
- either a theme in the form of images (usually comes in a zip file,
in that case, unzip to a folder)
- or a theme pack in the form of a file ending in .h3theme (formerly .h3skin)
- an unmodified firmware, ideally directly from the manufacturer
|
|
Get the firmware ready
| |
- Start H3Mod
- Select Firmware\Load
- Choose the file type for your firmware
- Find the clean firmware file
- Select it and click Load, or the whatever the
dialog says in your Windows version
- A window with a progress bar should open, like this
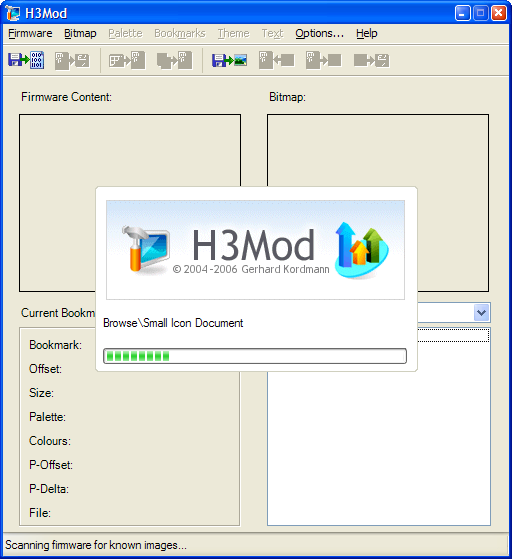
When it is finished, your screen should look about like this

|
|
Option 1: Load theme images
| |
This is what you do if the theme consists of a zip file with
lots of images in it.
- Make sure the file is unzipped and the images are
visible in the folder you unzipped it to
- Select Theme\Import Images

- Select the folder with the unzipped theme
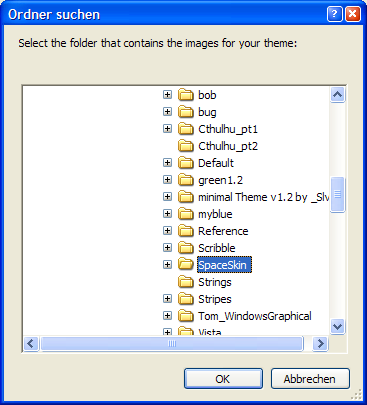
- Click OK. The progress screen comes up again and tells
you what is currently loaded.
- When it's done, it pops up a status report that looks
somewhat like this

- It's normal if it says Incomplete: that just means
that the theme does not contain replacements for each and every
item in the firmware. If it reports wrong sizes or colours, nothing
bad can happen. You only may end up with a few pictures that look
wrong, for example distorted, or having strange colours. If the
preview later on looks OK, you don't need to care about the report.
|
|
Option 2: Load theme packs
| |
This is what you do if the theme comes in a .h3skin or .h3theme file.
- Select Theme\Load Pack

- Select the theme file (I don't really have to guide you through the use
of the file dialog, do I?)

- A window pops up that describes the theme. If this is what
you expect, click OK, otherwise Select to choose another file.

- From now on, it's the same as for importing images.
|
|
Preview the changes
| |
Preview is optional, but allows you to check what the theme looks like.
Different firmware types have different levels of detail, but they cover
most or all of the changes for iriver products.
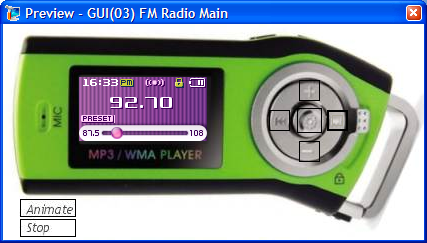
- Select Theme\Preview or press F2. A picture of the player
is shown, and you can move between the different screens with the + and - keys
on your computer keyboard. Or click on the player's forward/backward button.
Note: I currently have a problem with H320 preview, so this is
an example for the T10. If you didn't notice :-)
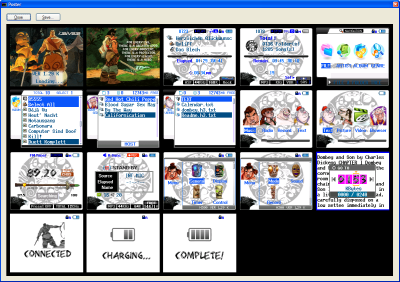
- Alternatively, select Theme\Poster or press F3. A collection
of all available preview screens is shown. Note: back to the H300 example, and
a resized version of the original screenshot
|
|
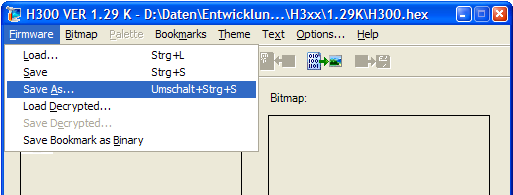
Save the firmware
| |
- If you liked what you saw, select Firmware\Save As.
Save will save it to the same file as the one you opened.
Not recommended, since it overwrites the unmodified version.
But it all depends on how you like to do things.
- It's usually a good idea to use the same name as the original firmware,
only in a different folder. For the H3xx for example, the file must be called H300.hex.
|
|
Upgrade your player
| |
The following is only for the H3xx series. Procedures
for other players may vary, read your manual and the forum FAQs
for your player.
- Connect your player to the USB port of your computer
- If it says Charging, briefly press the play button and
wait until it says Connected.
- In the Windows file browser, your player shows up as a drive
called H300.
- Copy the firmware to the root folder of that drive. The root
folder is the top level, what you see when you click on the drive.
It's not a folder called root.
- Disconnect the player
- Go to Settings > General > Firmware Upgrade on the player.
- Upon the player rebooting, you should then have your nice new skin on the player.
|
|
|